[EN] Text Editor
More options for designing your content
The new Text Editor in the eworx Marketing Suite provides you with a versatile tool that allows you to design your content individually and easily.
It offers you a wide range of functions for the comprehensive editing of texts, forms and landing pages - from text formatting to the integration of images and the creation of tables.
The simple operation saves you time and allows you to design your content even more efficiently.
What functions does the Text Editor offer?

The Text Editor toolbar offers you a wide range of functions such as text formatting, image integration, tables and more. We would like to introduce you to the functions of the new Text Editor in more detail below.
General functions
Undo
As with some other programmes, it is also possible to undo actions in the eworx Marketing Suite. To do this, you can either click on the back arrow or use the key combination Ctrl+Z.
However, if you have already clicked out of the text field and then want to undo the action by clicking back into the text field, this is unfortunately no longer possible.
Restore
If you have undone an action, you can also restore it. To do this, you can use the forward arrow in the toolbar or the key combination Ctrl+Y.
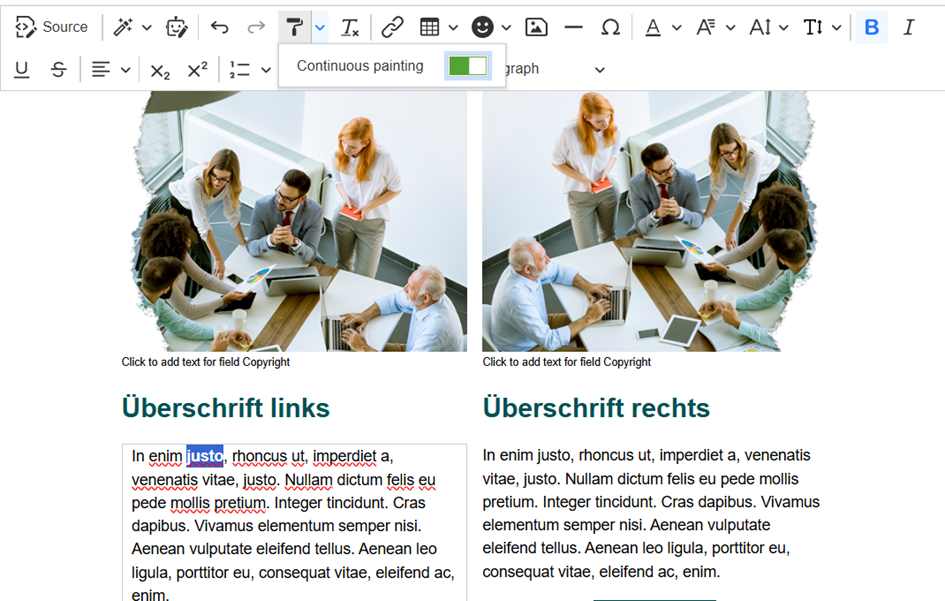
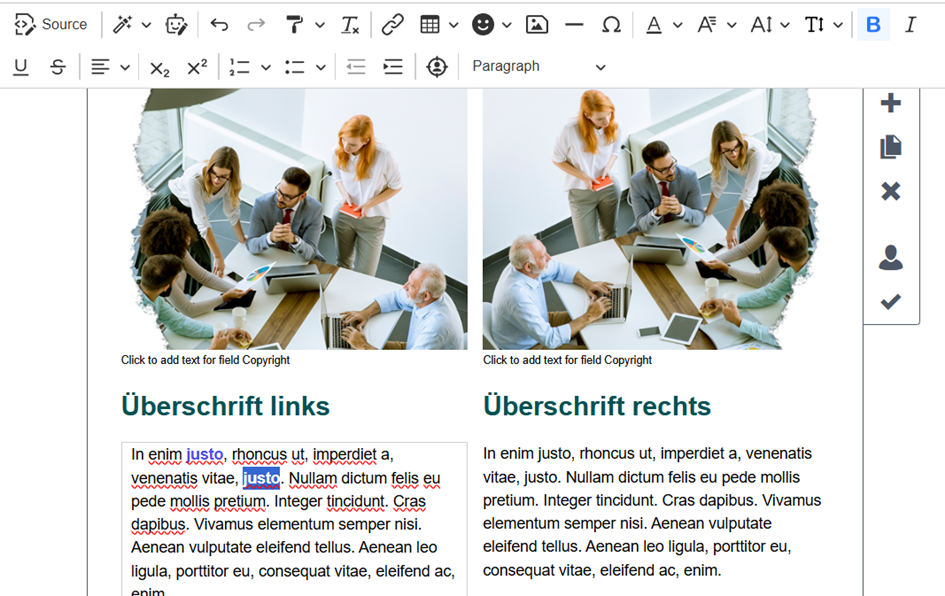
Paint formatting
You may also be familiar with this function from other programmes. It can be used to transfer the formatting of a text to other content in the same text field.
Next to the “Paint formatting” icon, you will find an arrow which you can use to set that the transfer function is retained. This allows you to transfer the desired formatting to multiple contents. If the “Paint formatting” icon is highlighted in blue, it is active. It can be deactivated by clicking on it so that the stored format is no longer transferred.
As usual, the function can be activated not only by clicking with the mouse, but also with the key combination Ctrl+Alt+C
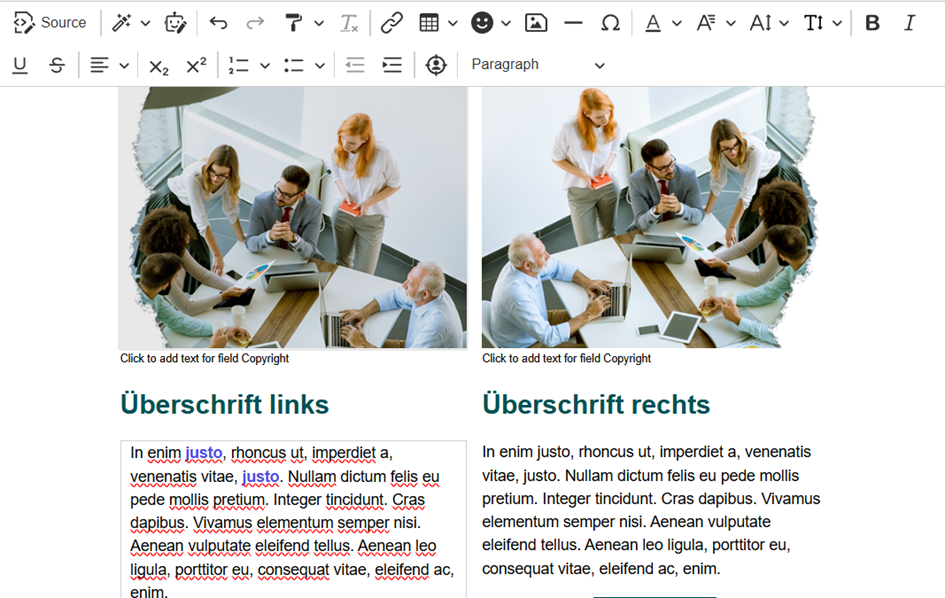
Remove format
You can use this function to remove the format from a previously selected text.
Insert
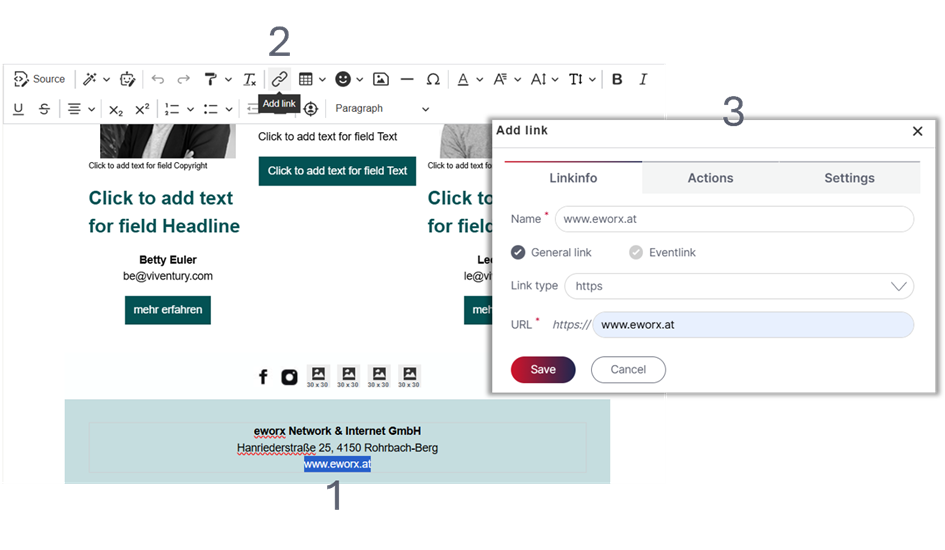
Add link
To add a link to text or an image in continuous text, you will find the chain symbol in the toolbar. Click on the symbol to open the “Add link” window. A detailed description of link types and link options can be found here.
How can I remove a link?
The link can be edited or removed by clicking on the linked text.

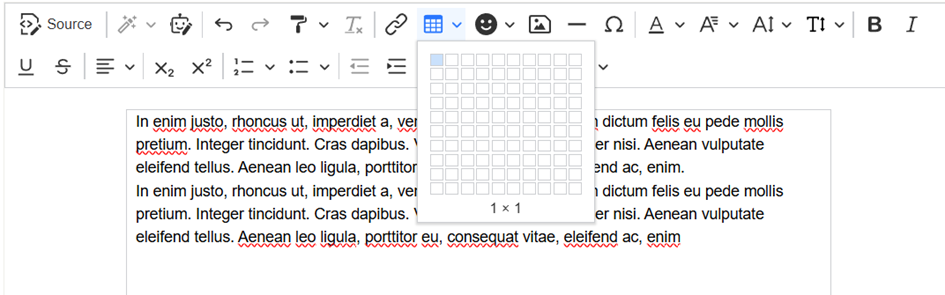
Insert table
In the eworx Marketing Suite, it is possible to insert a table in the text field. Tables are mostly used for inserting images in text fields (as they would otherwise be cut off in Outlook) or for formatting in the footer.
By clicking on the table symbol, you have the option of selecting the desired number of rows and columns.
By clicking on the inserted table in the text area, you have the option of editing individual columns and rows. It is also possible to merge selected cells. You can also call up the table and cell properties and adjust them if necessary.
By default, no frame is defined for the table so that the frame visible during editing is not displayed in the editor. We recommend not specifying fixed values in px for the width of the table, as this can lead to display errors, especially in the mobile view. Only % values should be entered here so that the table can also adapt to the mobile view.

Emoji
To liven up the text, it is possible to add emojis (such as smileys) to your text. As with the other functions, a toolbar appears at the top when you edit a text field. By clicking on the emoji symbol, a list of available emojis appears. Click on the desired emoji to insert it into the text.
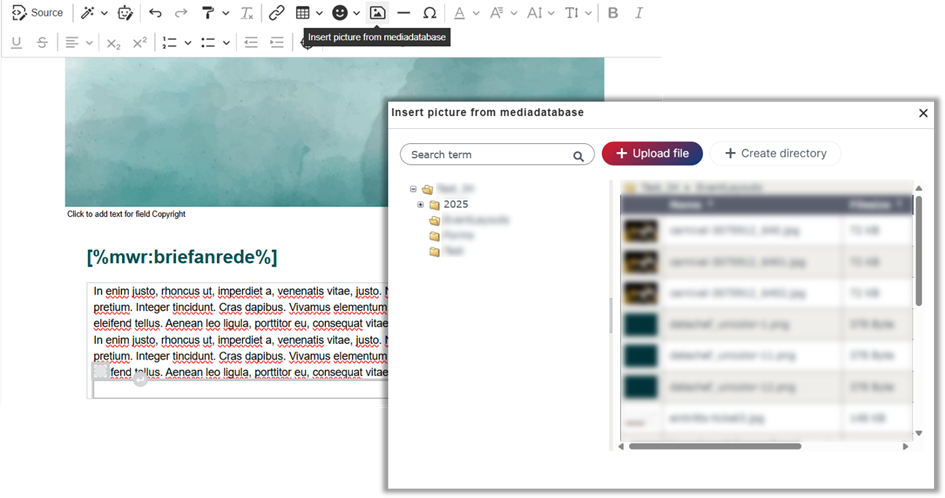
Insert picture from media database
In principle, pictures should be inserted in the picture placeholders provided for this purpose. Sometimes, however, it may be necessary to insert an picture in the body text. For e-mail campaigns, the picture should be inserted in a table so that the picture is not cut off in some e-mail clients (such as Outlook). A description of how to insert a table can be found above.
Click on the picture symbol in the toolbar to open the “Media database”. Here you have the option of selecting a desired picture or uploading a new picture.
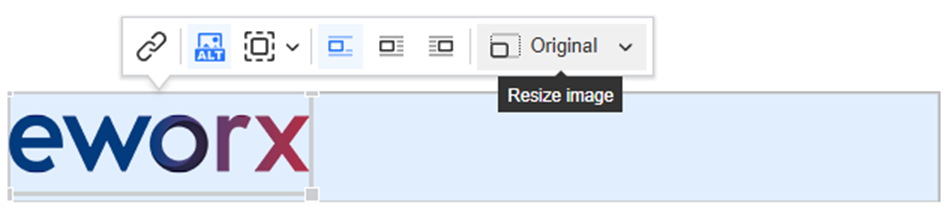
Once the image has been uploaded, you now have a number of editing options at your disposal. You can link the image using the chain symbol, change the alternative text, adjust the spacing and alignment (left-aligned, centred, right-aligned).
You can change the size of the image by dragging the corners or by clicking on the image. In the settings, you can reset the image to its original size or set the image width in px. The height is automatically adjusted.
Horizontal line
This function can be used to insert a horizontal line, which can be used as a separator, for example.
Special characters
This function can be used to insert special characters, such as emojis (see above), into a text field.
Formatting
Font colour
The font colour cannot always be saved via the settings. Especially if a word or text is to be highlighted, this function can be used to adjust the font colour of the desired text. To do this, the desired text must be selected. The text can then be coloured in the desired font colour. A number of predefined colours are available for quick selection, but you can also select a HEX code.
Individual newsletter templates offer the option of storing specially selected colours (e.g. in the company's CI) in the predefined colour palette.
Font
All web-safe fonts are available in the toolbar for the fonts. If “Default” is selected here, the font that is stored as default in the template is used.
Font size
The font size in text fields can also be adjusted via the toolbar. Please note that the line height must also be adjusted, as otherwise the text may be cut off. If “Default” is selected for the font size, the default size set for the template is used.
Line height
If the font size has been changed, the line height should also be adjusted. Make sure that the line height is at least 2 px larger than the font size so that the text (and special characters) is not cut off. The line height can also be increased to create more space between the lines.
Text formatting
You are probably familiar with these functions from other programmes. The eworx Marketing Suite also offers the option of formatting text in a text field in bold, italic, underline and strikethrough. As usual, the functions can be activated not only by clicking on the icon in the toolbar, but also with the corresponding key combinations. In order for the text to be formatted, however, it must first be selected.
Overview of the key combinations:
• Bold: Ctrl+B
• Italic: Ctrl+I
• Underlined: Ctrl+U
• Strikethrough: Ctrl+Shift+X
Text alignment
The text alignment can also be customised. You can set the text to be left-aligned, right-aligned, centred or justified.
Subscript and superscript
It is also possible to subscript and superscript a text. To do this, simply select the desired letter/number or text and click on the corresponding icon in the toolbar.
Listing and numbering
You can also use the toolbar to add listings or numberings to a text field. Various formats are available, which we have listed here:
Numbered list:
• Decimal numbers
• Decimal with leading zeros
• Lower case Roman numerals
• Upper case Roman numerals
• Lower case Latin letters
• Upper case Latin letters
Bulleted lists:
• Disc
• Circle
• Square


Increase and reduce indent
These icons in the toolbar can be used to reduce or increase the distance of a text from the margin.
Personalisation
Choose placeholder
You can insert personalisations wherever you find a little man symbol in the eworx Marketing Suite. You will also find such a little man symbol in the toolbar, which you can use to insert a placeholder. By clicking on this symbol, you have the option of selecting placeholders for subscriber and form fields, text modules and event data.

Predefined styles
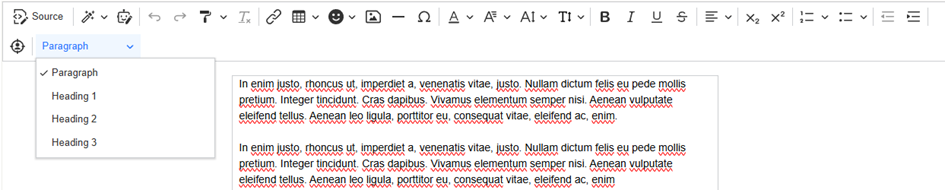
Paragraph
With the Flexivorlage 2.0, you can choose between headings 1-3 for the paragraph. The line height is also adjusted. The line height is set 2 px larger than the font size. If, for example, 12 px is set here, a font size of 12 px and a line height of 14 px is stored.
For customised templates, predefined formatting that was integrated when the template was created can be stored here.
In general, if the text has been formatted using the styles or the Paragraph function, the text can no longer be formatted using the other functions in the toolbar.
Updated 7 months ago